
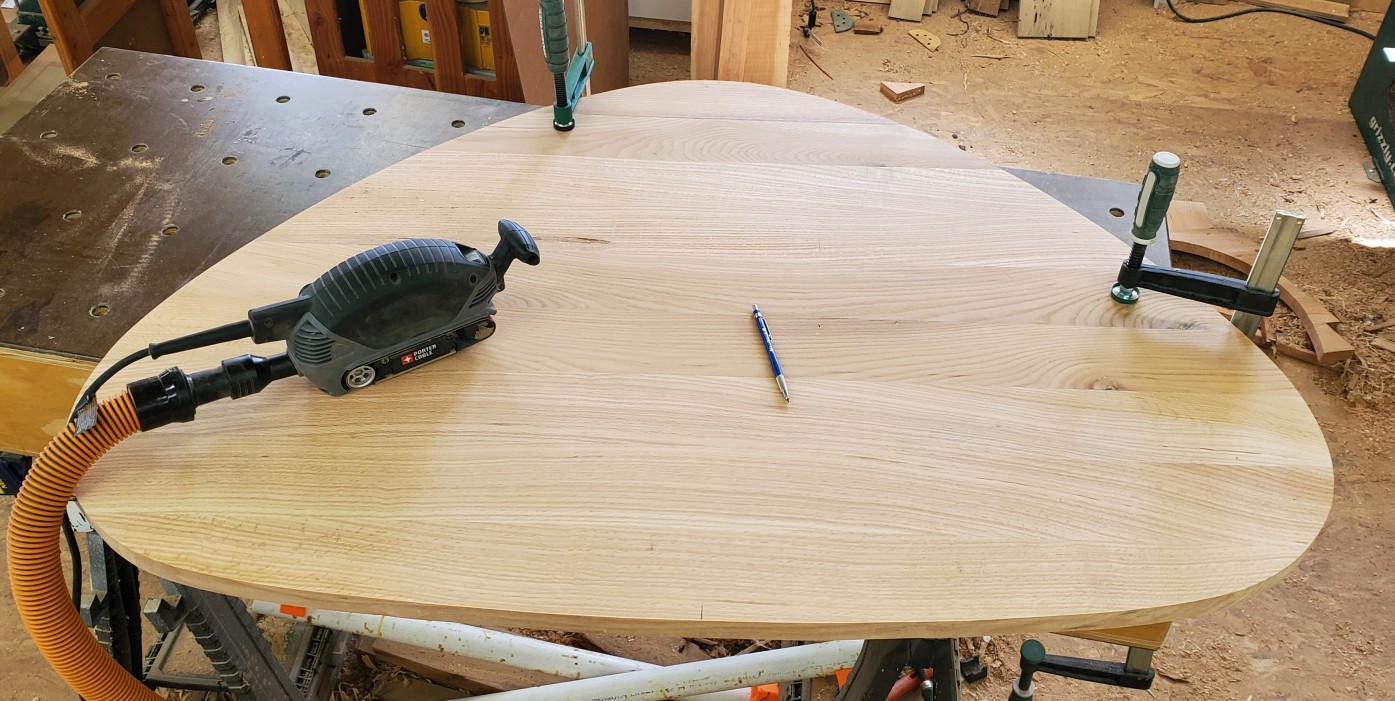
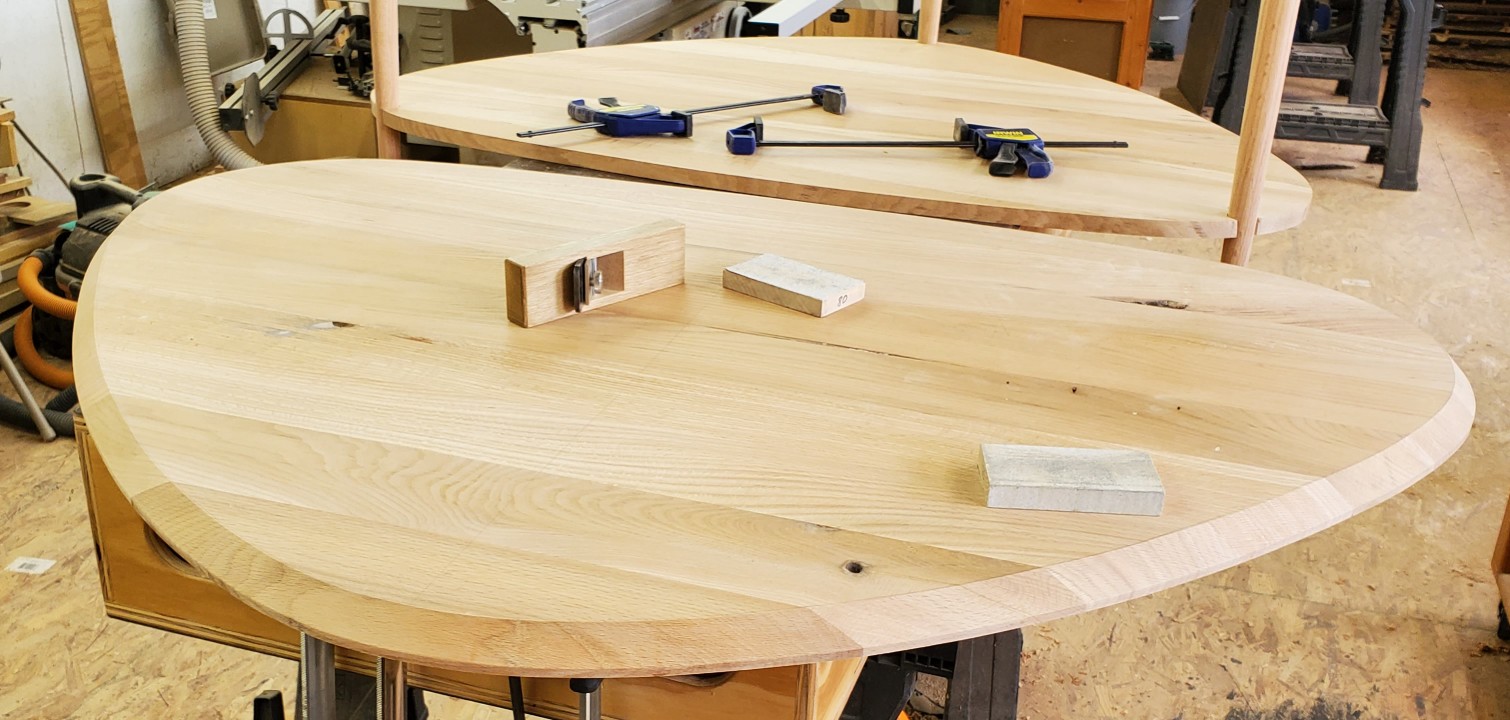
Since the last update, the final form of the table has taken shape. Starting with the blank panels that were glued up and ready for profiling, I used the template to mark the shape, then I cut the profile out from the larger panels. The bottom shelf was also cut to shape with a slightly smaller size taken from the top panel. From there, I was able to do a first initial sanding to clean up the panels.
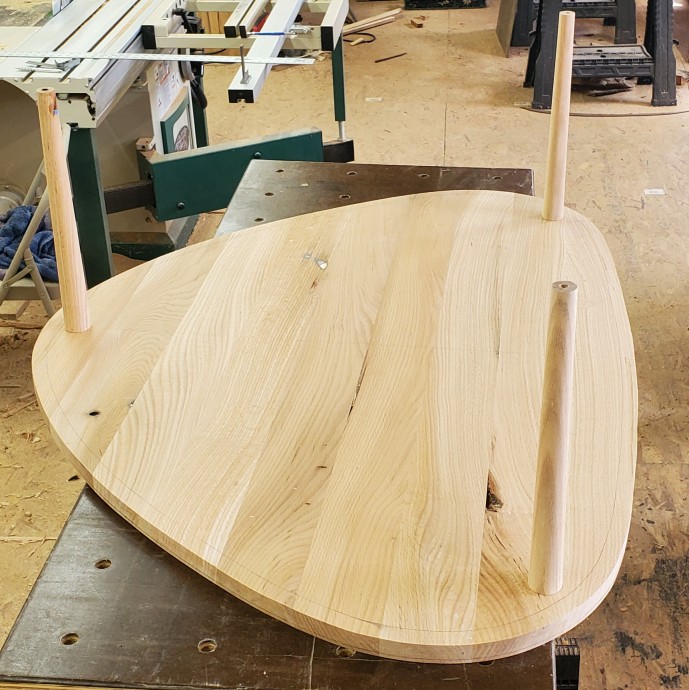
Once the top and shelf panels were cut to shape, I could start laying out the guidelines for the top’s edge profile and placement for the legs. The image below is of the underside of the top panel with the legs being upside down similar to how they will eventually be connected to the top.
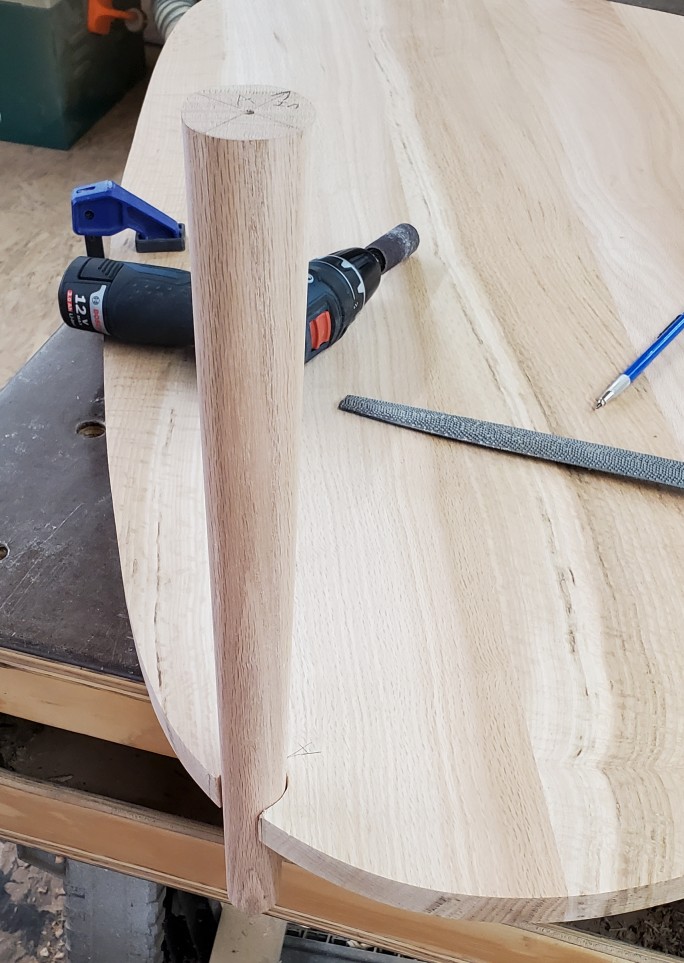
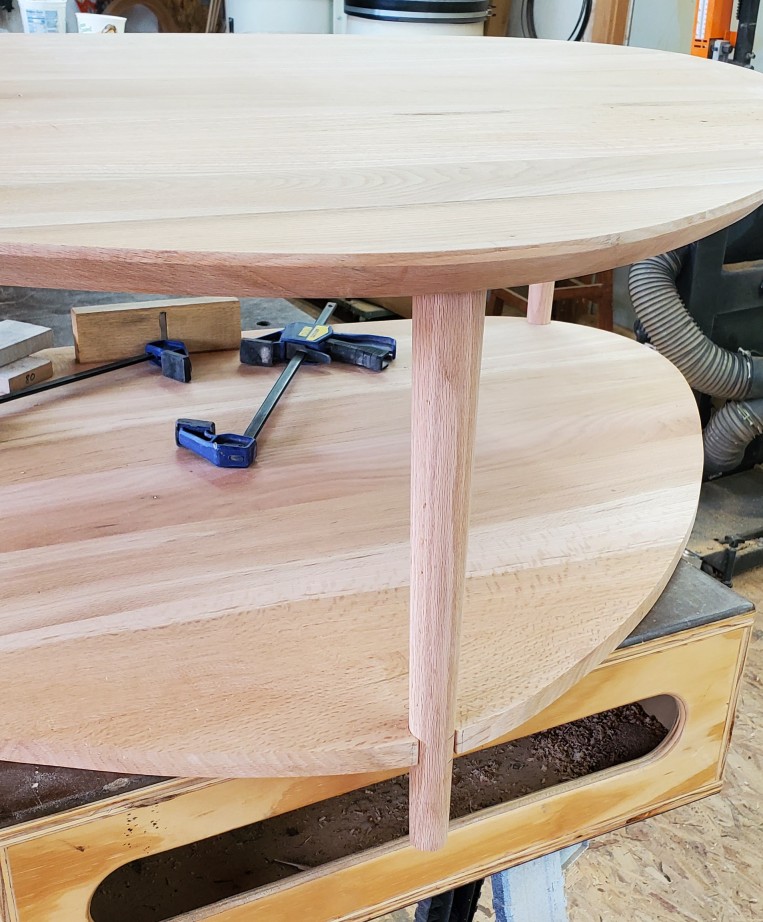
The next step is one of the tricker portions to this shape and that is to cut the holes for the tapered legs to fit into the bottom shelf. I started with a basic hole, then used a variety of rasps and sanders to open the hole enough to fit the leg into place.
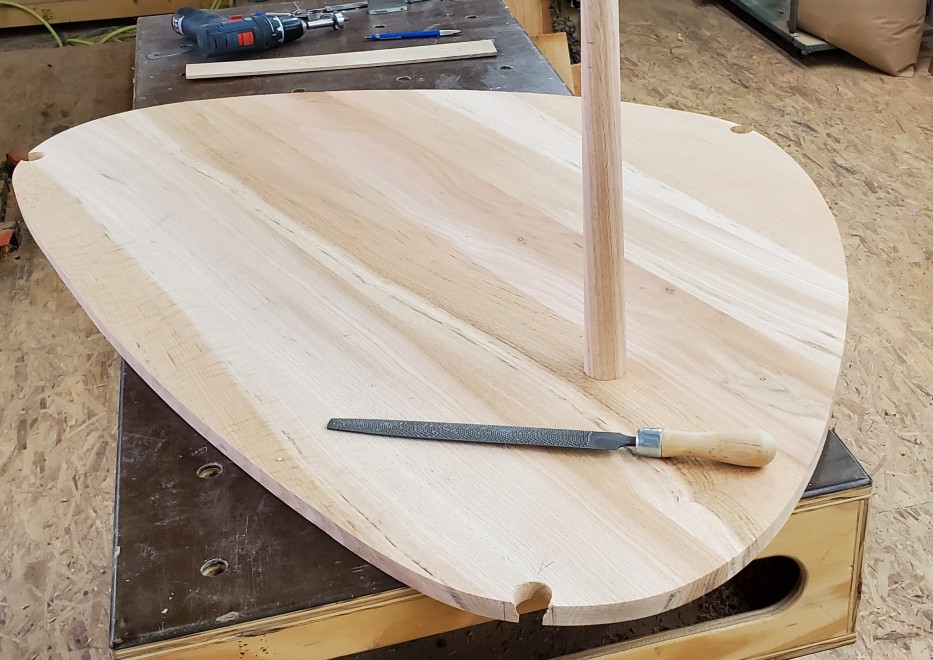
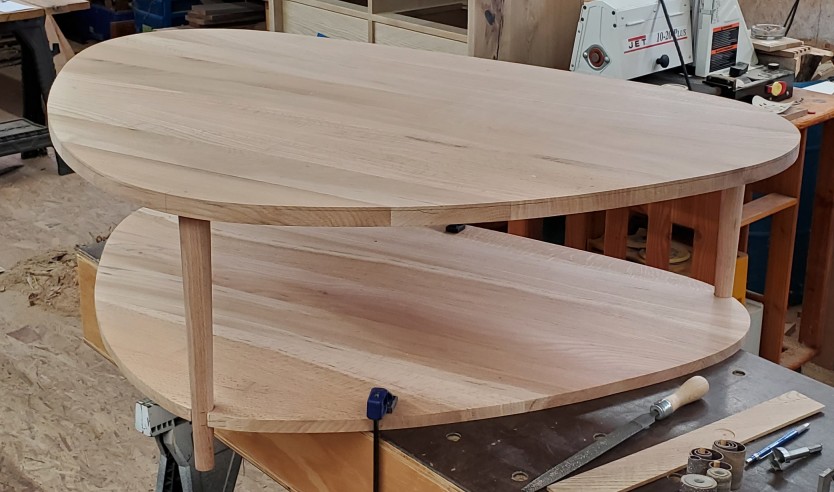
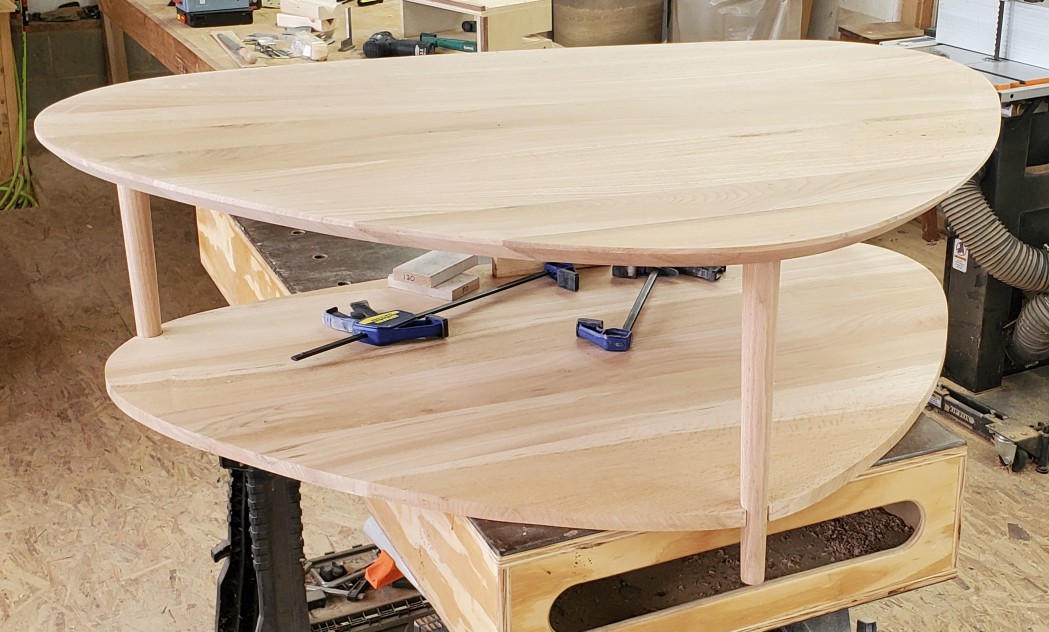
The shelf panel will receive a slight radius to the top and bottom edges including around the holes the legs penetrate through. This will soften the transition and have a bit of the illusion that the legs were “punched” through the shelf panel. I will do that step just prior to final assembly and sanding. With the legs fit into the shelf panel, we can get the first glimpse of the final form of the table.
Now that the leg joinery is mostly complete, it is time to begin profiling the top edge. This has a heavy bevel on it which I start with my shaper to remove the bulk of the material.
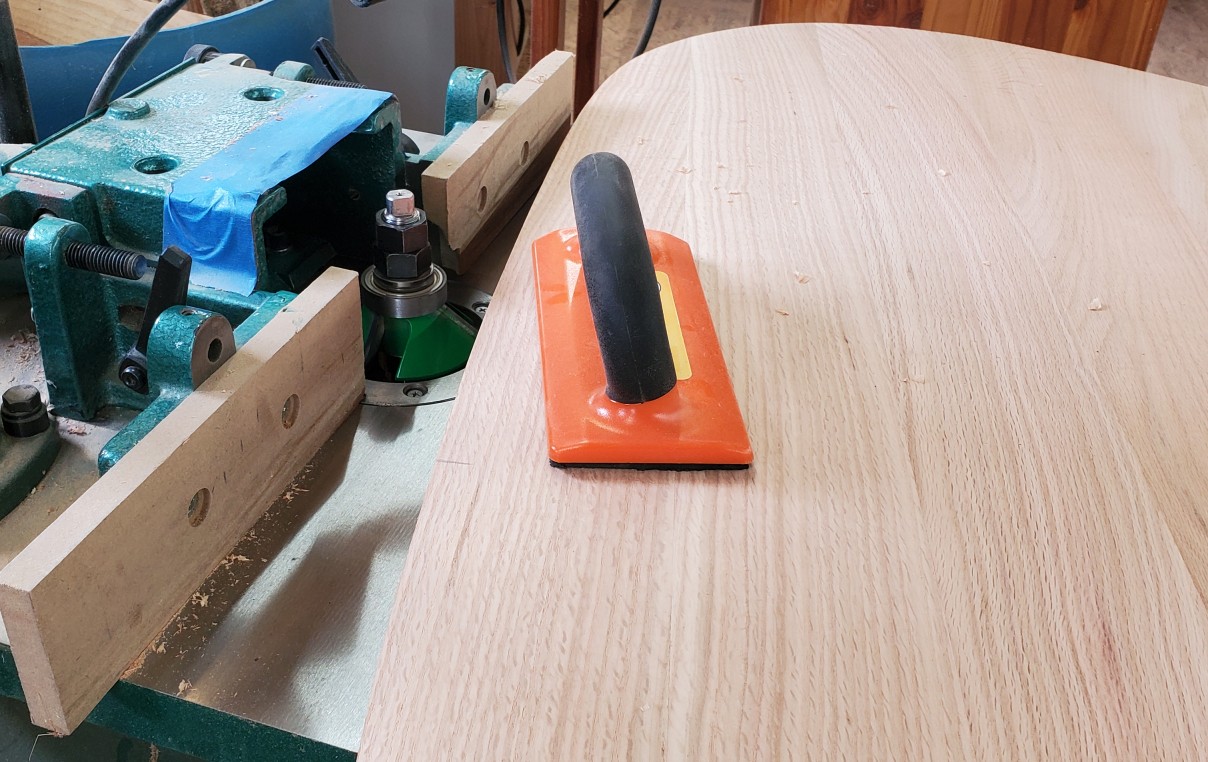
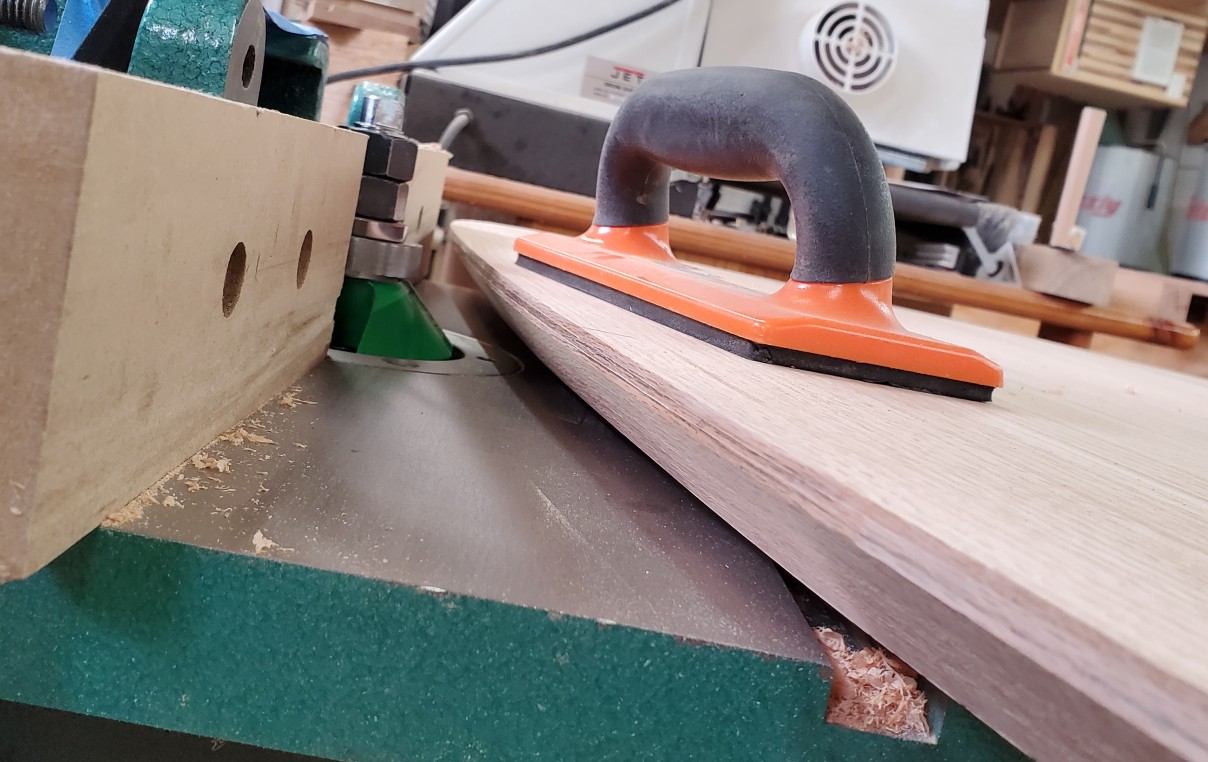
To finish out the top profile, a bit of hand-sanding and planing is required to clean up the cut.
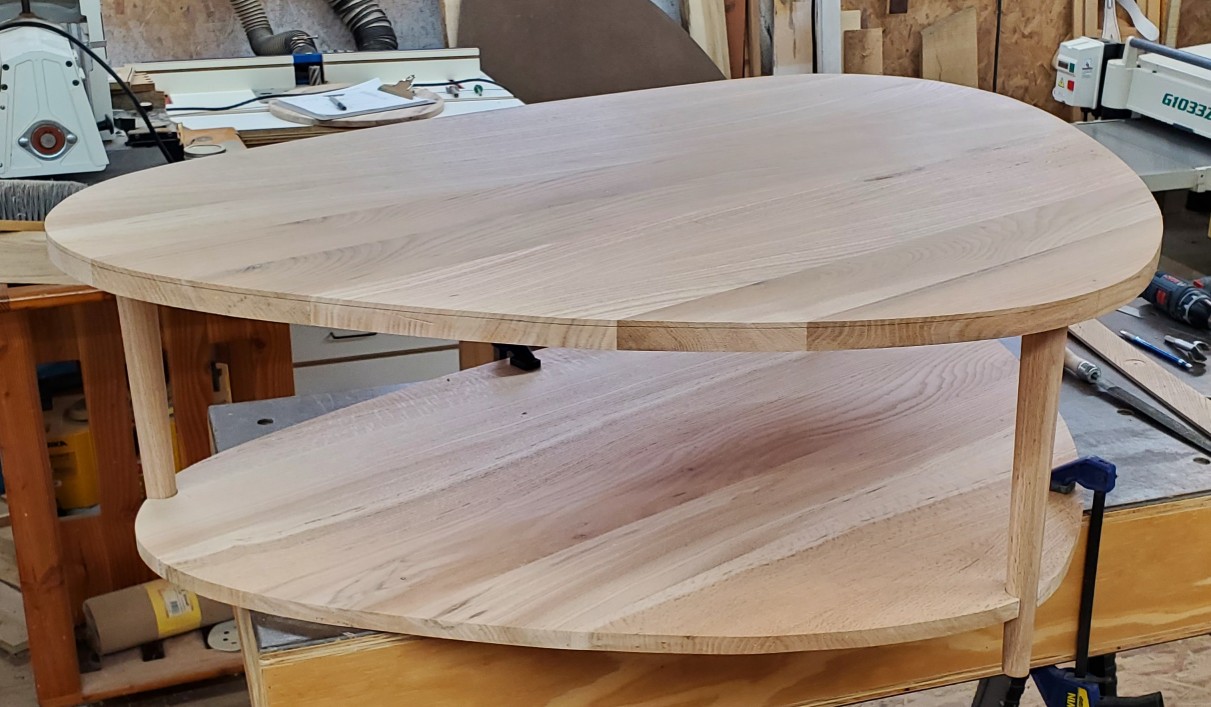
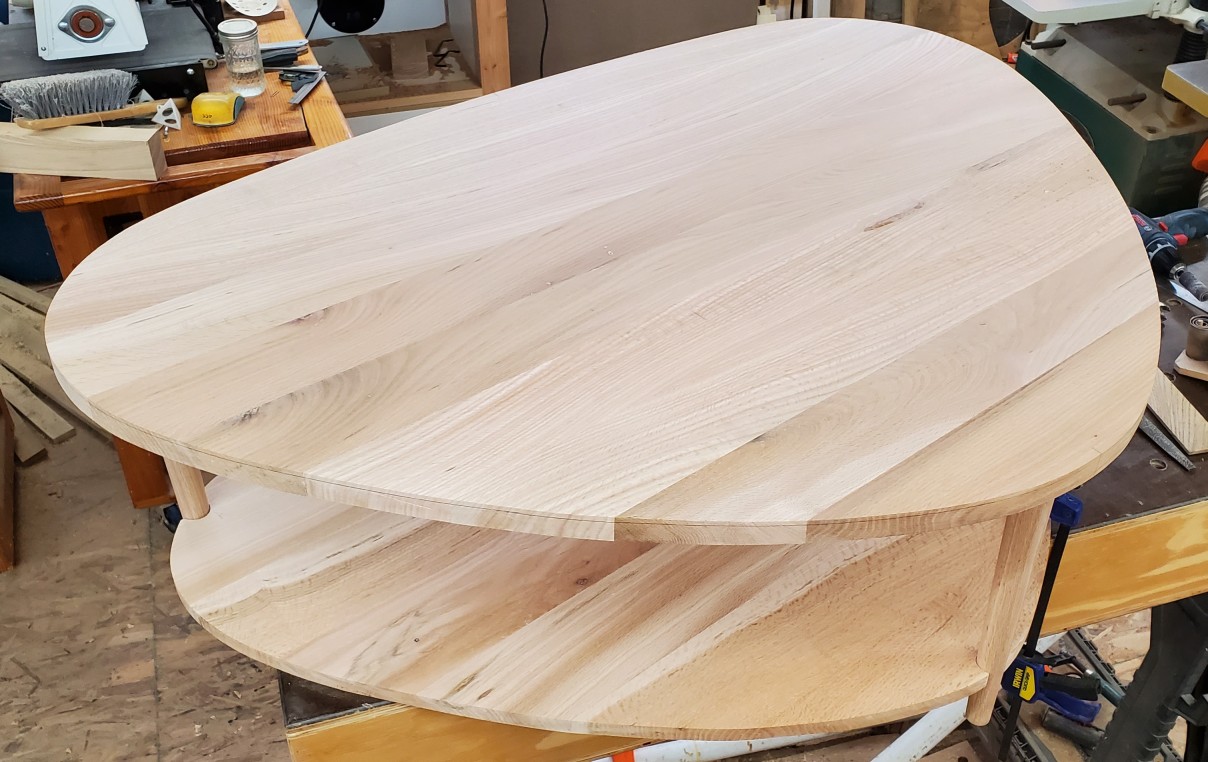
One last rough assembly to see the impact of the top profile on the overall table shape.
We have a few next steps still before the table is ready for final assembly and finish. First, the tops of the legs need some joinery to attach them to the table top. Then, a few strips will be added to the underside of these panels to help keep the panels flat over time. Finally, a good sanding and cleanup of all the minor surface imperfections will be performed. We will be on to finish in no time!