For this particular project, a good starting point was the legs. Normally, one would use a lathe to turn these round. This is an area I don’t work in much, thus for any round items, I typically resort to a hand-shaping method. A lathe will definitely be on the shopping list if I ever get a larger order that includes a number of round items!
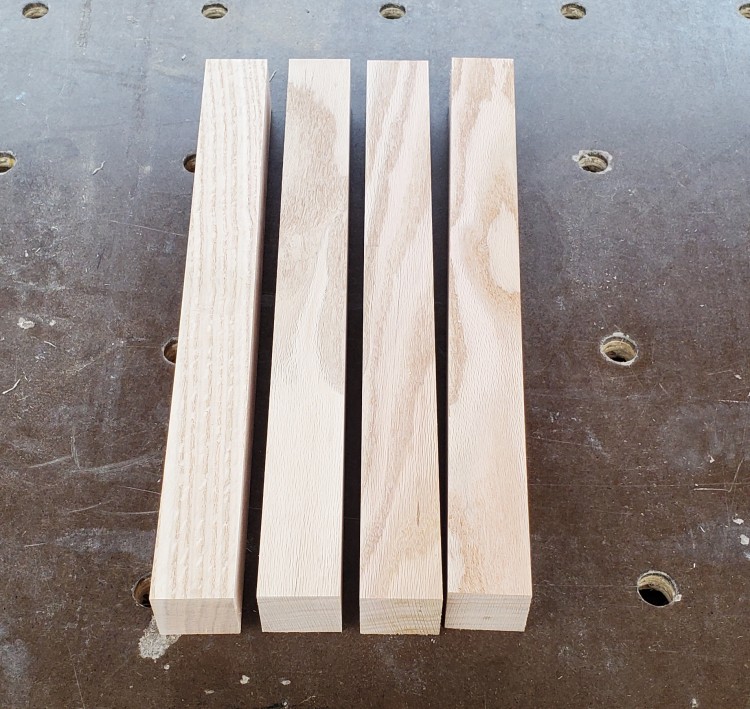
To cut these by hand, I first start with the square blanks. I selected a cleaner piece of the thicker 8/4 material and milled up 4 total 1.5 inch square blocks. The 4th piece was for testing and just in case I made any mistakes on one of the other three.
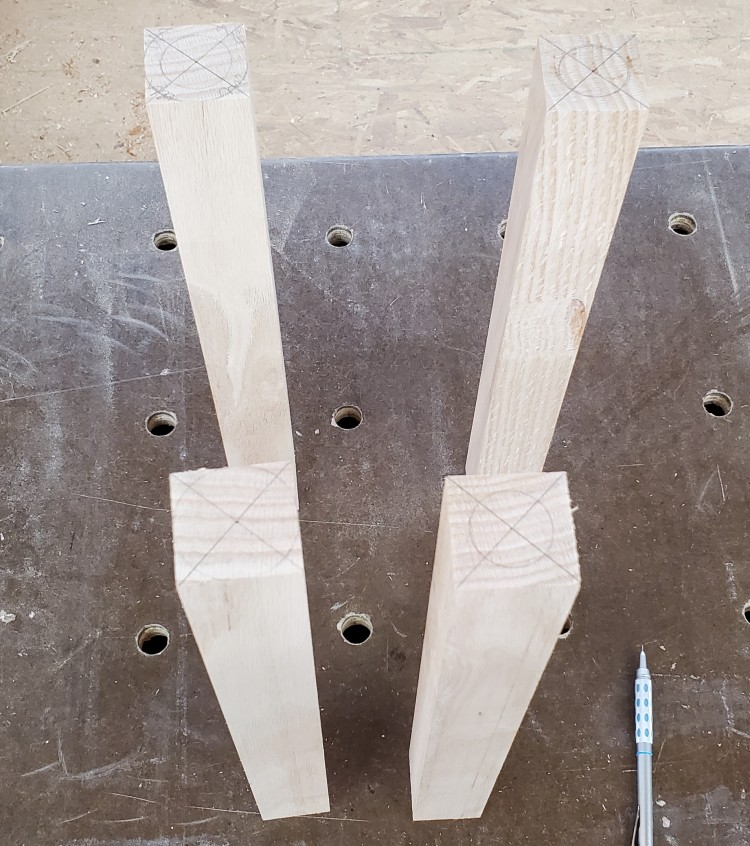
The profiles of the legs are then scribed onto the ends of these blanks to provide a guide-line for the shaping step. These legs taper from 1.5 inches on the upper end down to 1 inch at the foot.
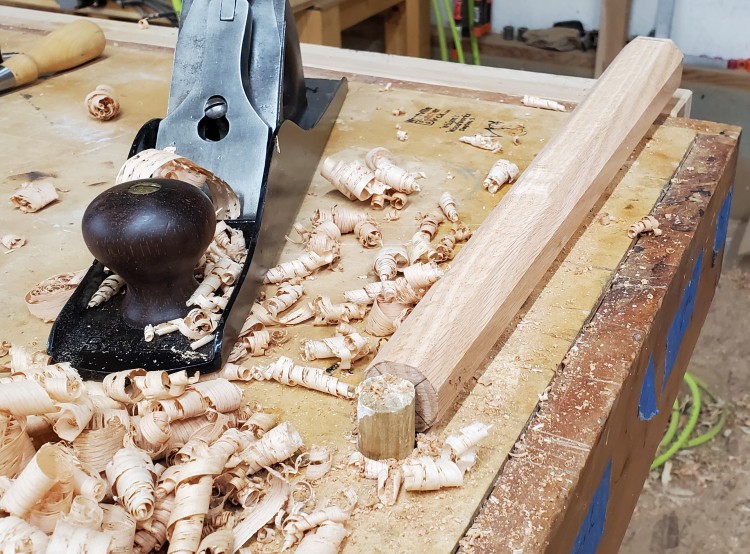
Once I have guidelines, we head over to the workbench and use a basic hand-plane to carve the piece to shape. My method is to work each corner at a time working down to the guidelines on the ends turning the piece from 4-sided to 8-sided to 16-sided until the general shape becomes relatively smooth.
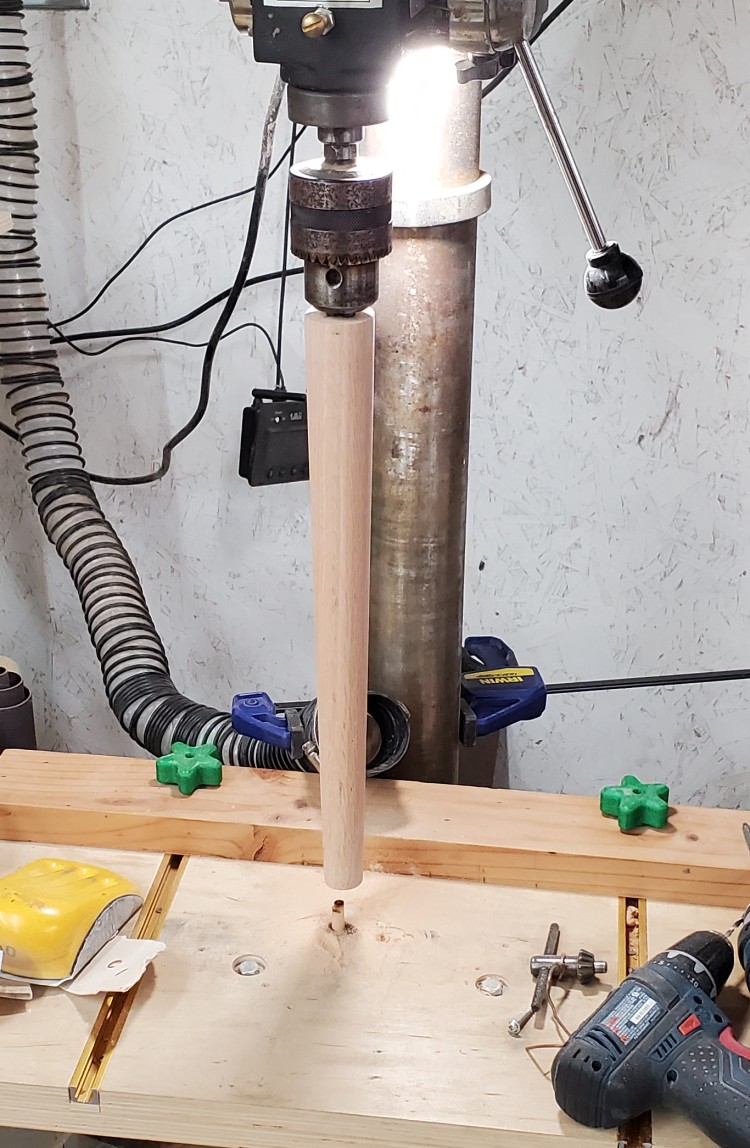
The best method to clean up these rough-shaped pieces is to affix them onto my drill press and use sandpaper while the leg is spinning to bring them to final size and cleanup any ridges left by the hand-planning process.
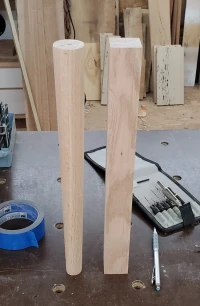
Here we have a quick comparison of the starting blank with one of the final shaped legs showing the taper.

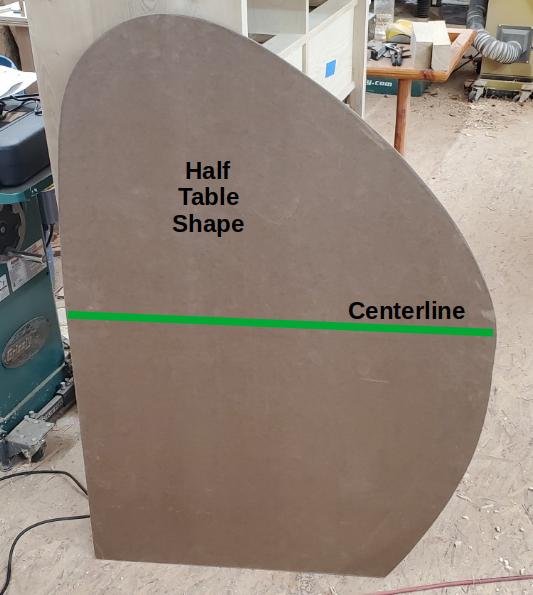
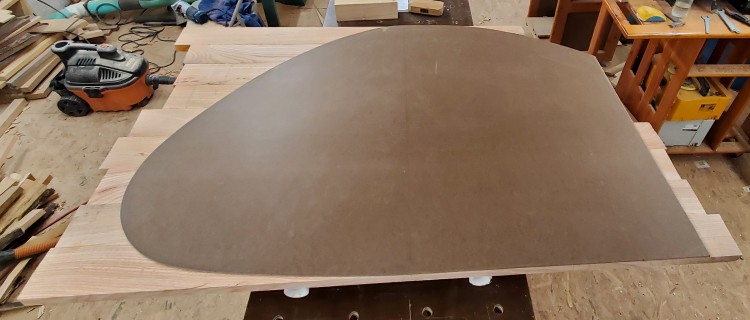
Next was to get started on the large panels for the top and shelf. To help in material selection and layout for these panels, I first created a top panel template so that I can work out the curves using thin hard-board. Note I only shape half of the template (upper portion). This is so that when I cut the final panels to shape, I can ensure both sides of the shape are identical mirrored copies of one another.
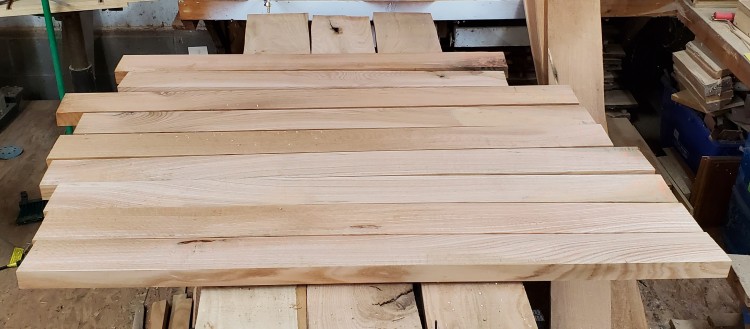
Now that I have a template, I can begin laying out the panels for the top and shelf. Since a coffee table is such a prominent piece that is the centerpoint of a room, I make sure to try to use the better pieces from your material. Other furniture such as end tables, chests, and dressers enable me to use lower-quality material and I don’t have to be as picky in my material selection. Note that this table did consume a larger amount of material than normal to find clear boards to work with.
Once the material is selected, I can cut them down closer to final size and mill them flat and square for the glue-up.
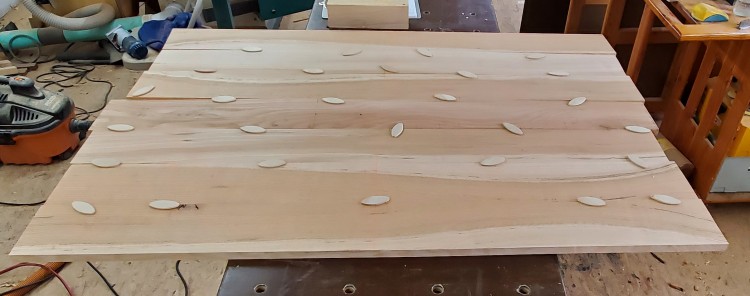
For the lower shelf, the thinner material needs some help with alignment during the glue-up. For that I use biscuits cut into the edges of the boards. That aligns the pieces and helps to make sure the panel stays flat while the glue dries.

Up next, I will begin cutting these panels to shape, profiling the edges, sanding everything smooth, attaching some supports underneath the panels to help keep things flat, and attaching the legs!