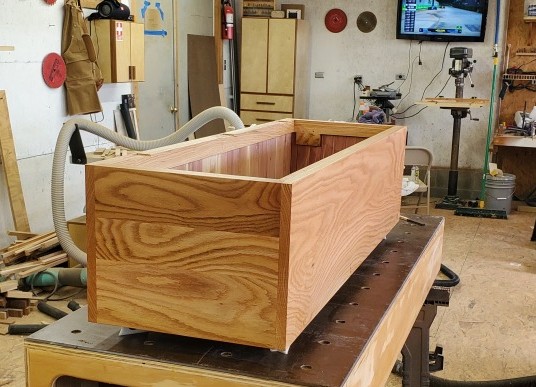
Since the last update, I only had a few last steps to complete. This started with the feet, final cleanup and sanding, and then the finish!
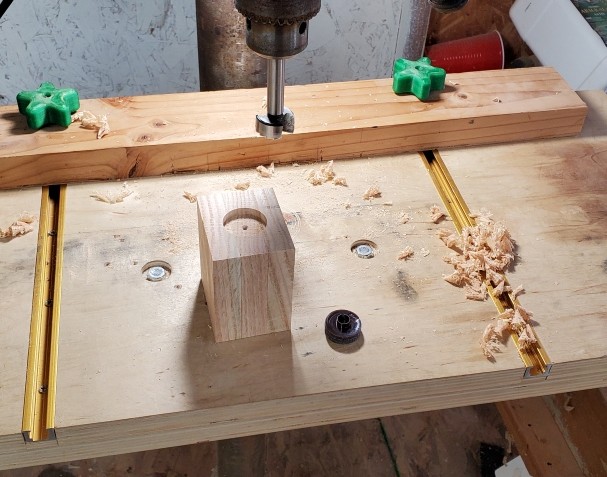
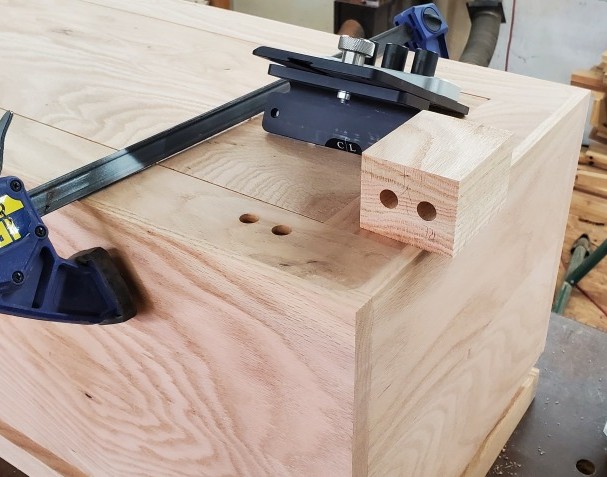
The feet started with square blocks that I could drill in the mounting holes that will attach them to the case. Here I used two dowels per foot.
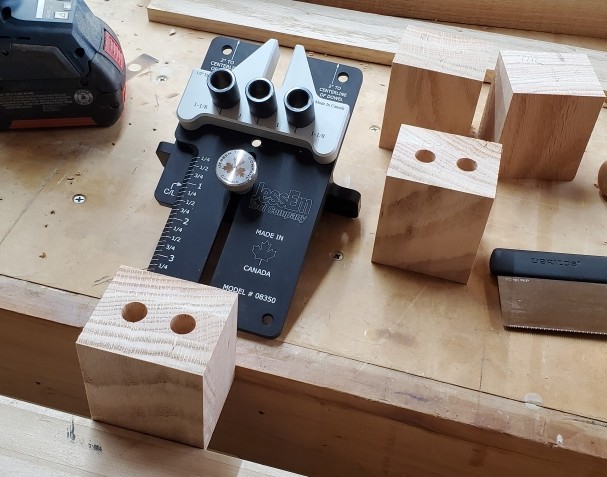
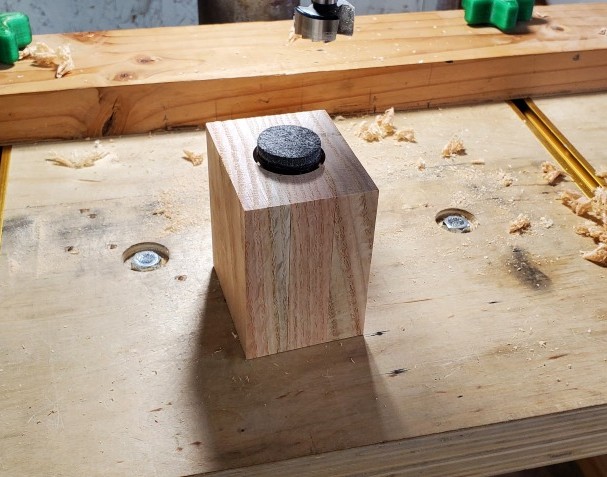
The other drilling on the bottom of the feet are to accomedate some adjustable felt pads. This felt prevents the piece from scratching any hardwood or similar floors. First up, a counter-bore is drilled to recess the pads into the bottom of the foot. A center hole is also drilled and threaded. This allows the felt pad to be screwed into the bottom of the foot and can be adjusted in-and-out to account for uneven flooring if that happens to be an issue (i.e. no rocking!). Additionally, this makes removing the felt pads very simple if so desired.
From here, the corresponding dowel holes were drilled into the bottom of the case. The feet are left off the case until the finish is complete to make things easier.
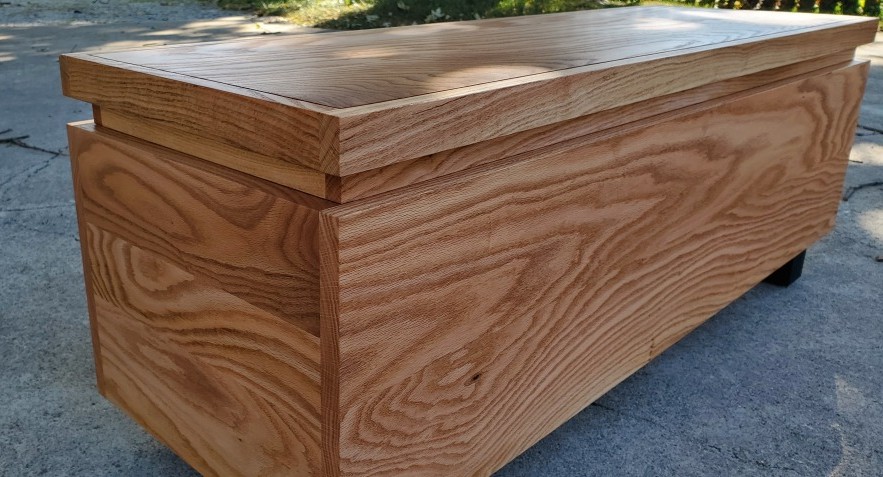
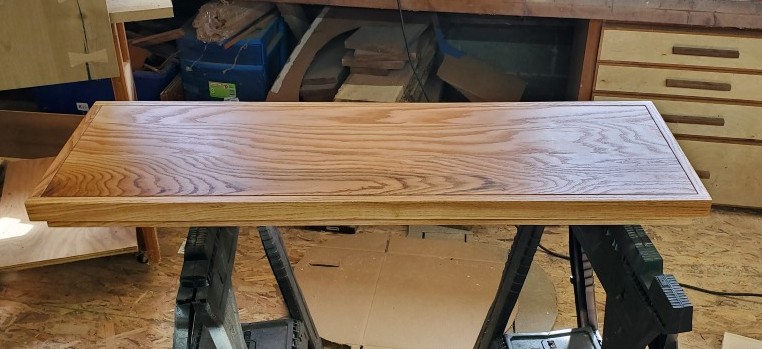
Finally, we are on to the finish! First up was a few hours of sanding and cleaning up the edges. My goto finish is Rubio Monocoat Oil Plus 2C. This is a 2 part oil finish that is low-VOC, very easy to repair, and durable.
The finishing process goes as follows:
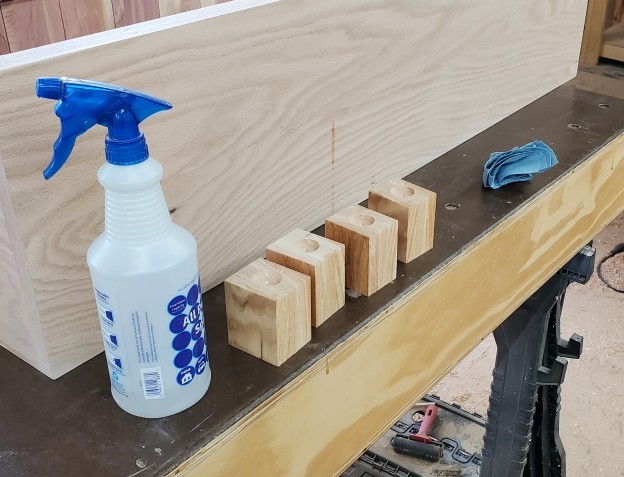
- Water-pop the grain
- Sand the popped grain
- Apply any Pre-color (e.g. for the feet)
- Rub on the finish with a scotchbrite pad then wipe the excess away
One step that helps to improve the quality of the finish is the “water-popping” process. Put simply, you spray down the raw wood with a bit of water (not saturating) and let it dry. The crushed fibers sitting just below the surface will stand up making the surface feel extreamely rough. I use a high grit sandpaper to cleanup those fibers to make the surface smooth again.
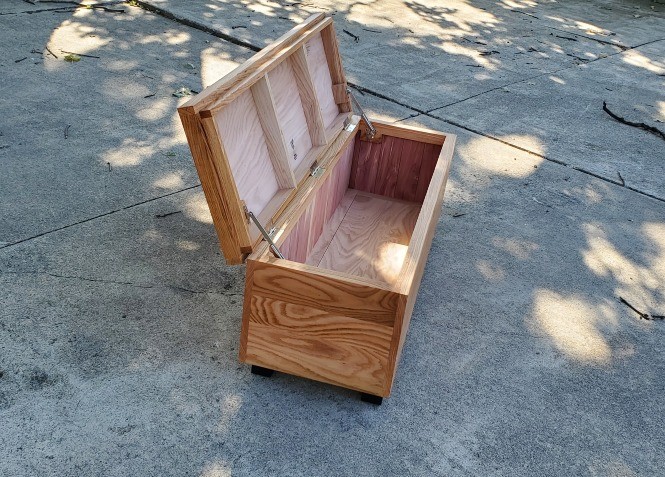
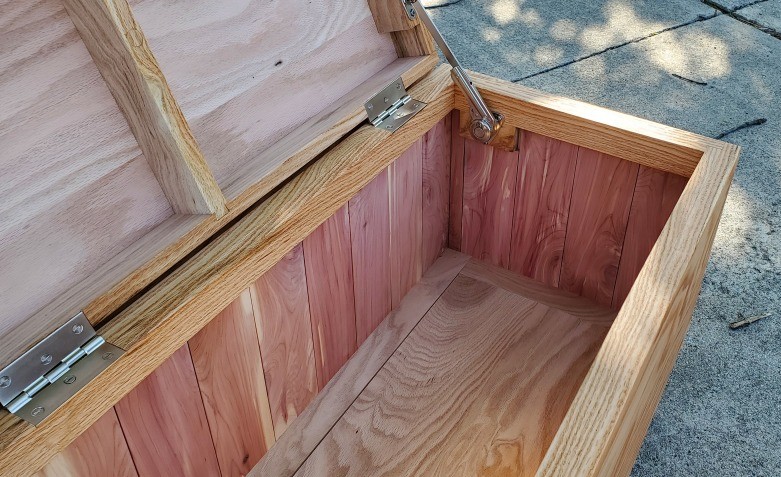
The feet received a coat of Rubio Pre-color in “intense black”. After that dried, I could rub on the finish and wipe off the excess and let it dry. This finish actually takes a couple weeks to fully cure, but is perfectly usable after 24-72 hours. You might notice some odors as whey you open the crate from shipping, but those should wear off reasonably quickly. Note, the inside is left raw wood to prevent any odors from getting into any textiles stored in the chest.
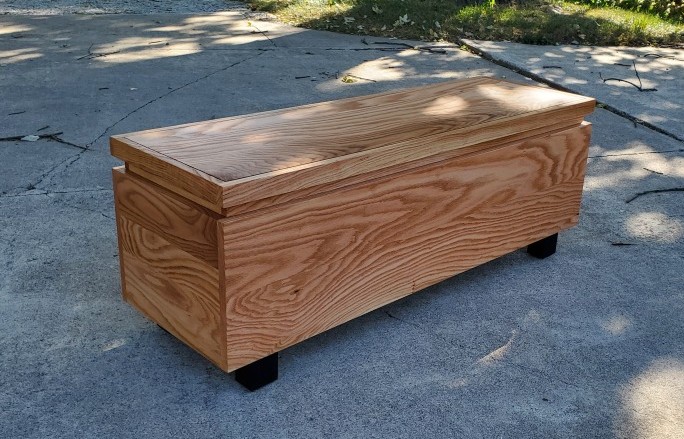
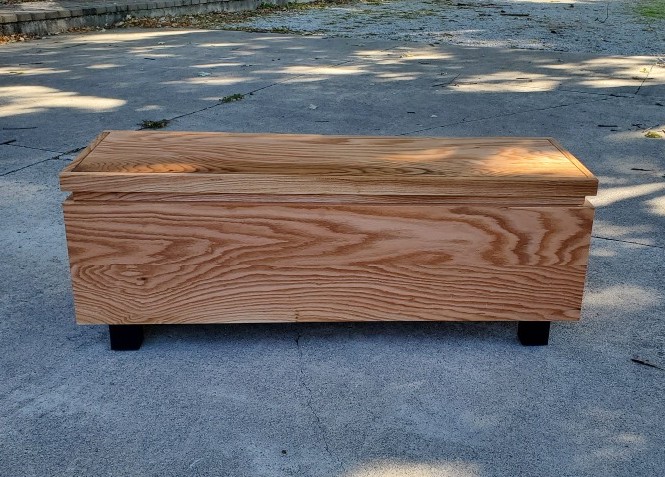
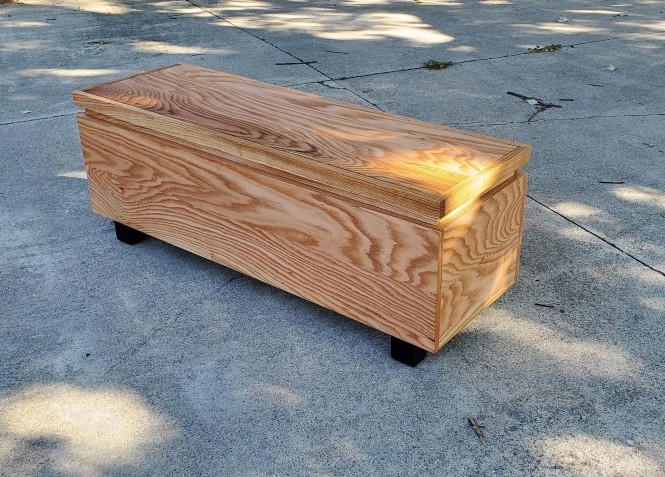
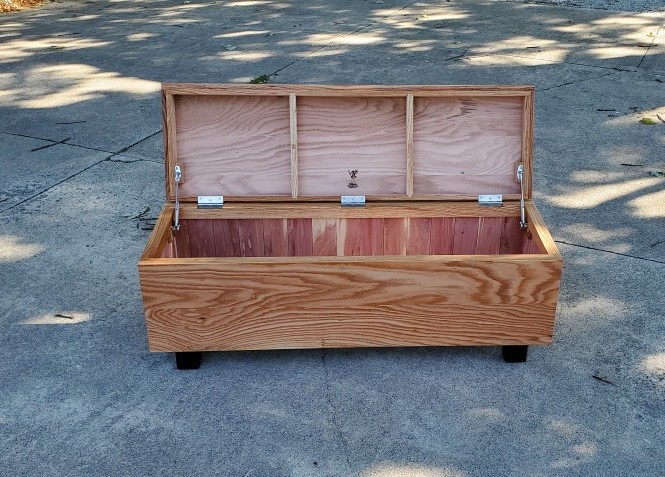
Last step is to reassemble everything, glue the feet in place, and take some final photos!