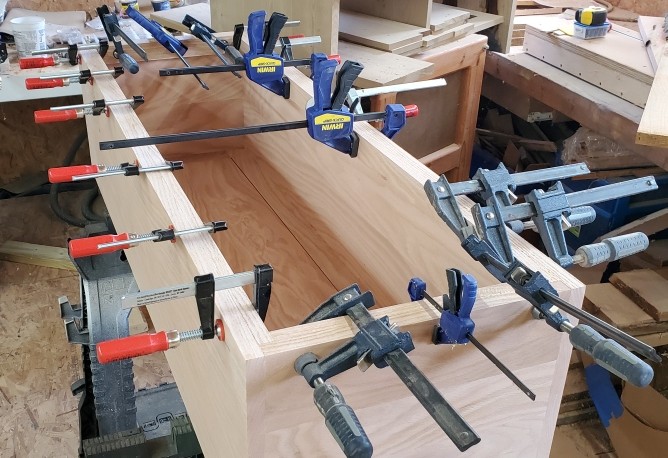
Since the last update, I moved on to the lid and internal details of the case. The first additions to the raw case were a few strips surrounding the upper rim where the lid will sit and the internal cedar lining will terminate. You can see those in place and clamped allowing the glue to dry below.
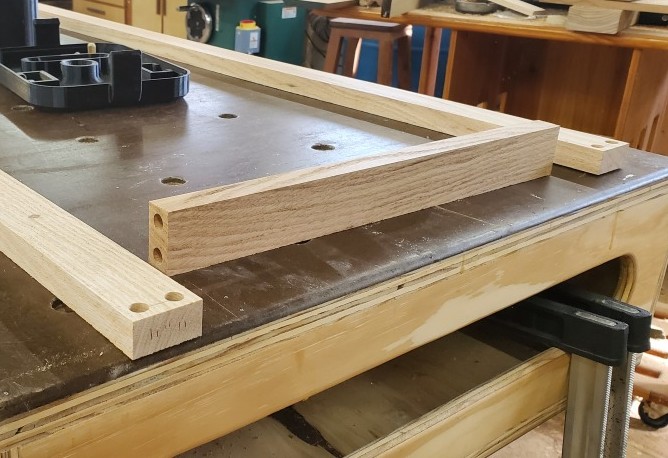
With that drying, I moved on to the lid. The lid is a basic frame and panel similar to the bottom panel with slightly different joinery. Below you can see the holes used for internal dowels to hold the core lid frame together.
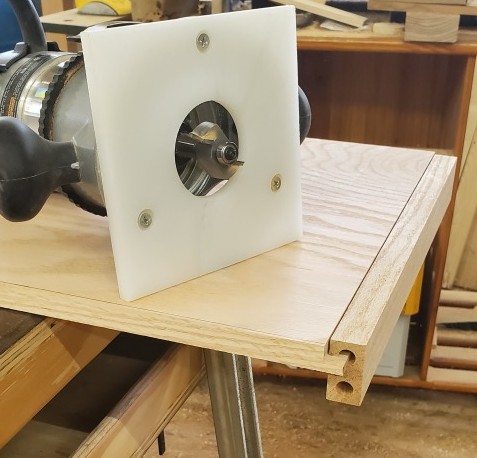
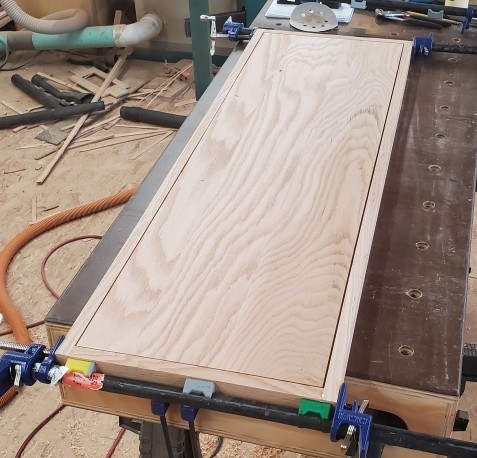
I glued up the center panel for the lid, cleaned it up, the cut a rabbit around the perimeter of the lid panel to fit into grooves cut into the lid frame. You can see a bit of the cross section during one of my test fits here.
After everything is test fit, the lid can be glued up. The center lid panel is “floating” within the frame and does not get glued completely in place to allow for seasonal expansion and contraction to prevent it from cracking over time.
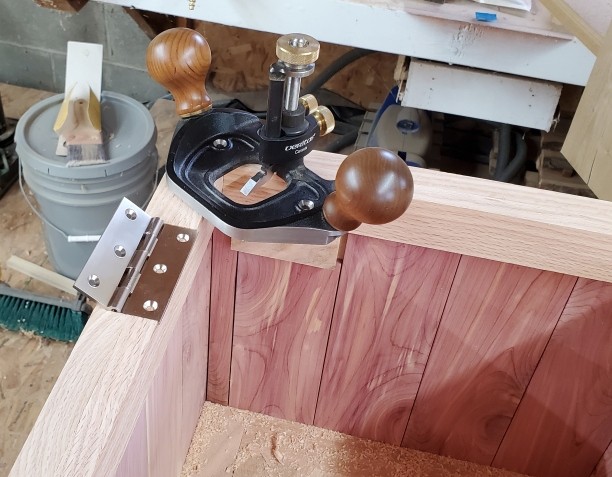
I did run into a bit of a design issue once I had the lid assembled. Typically, when I do a frame and panel such as this, the frame has a larger cross section making them stronger. With this particular design, the lid frame may not stay perfectly straight and would struggle to provide enough structural support where the hinges would be mounted. I opted to add more structure under the lid to strengthen the entire piece. As the lid was already assembled, I resorted to a couple of sliding dovetail joints. The next few images show the cutting of these joints and the final underside of the lid with them installed. A single screw through each was added into the panel to help keep it centered over time.


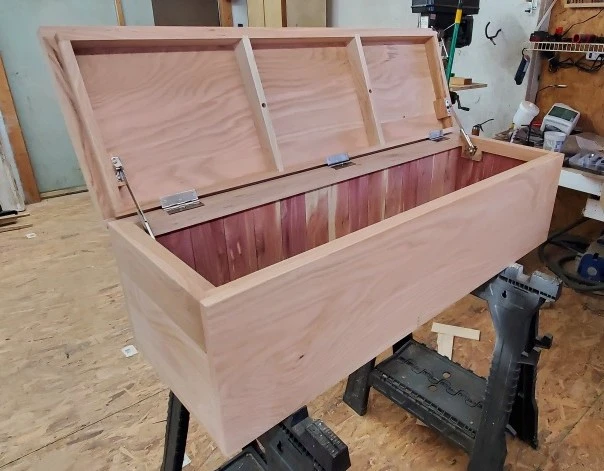
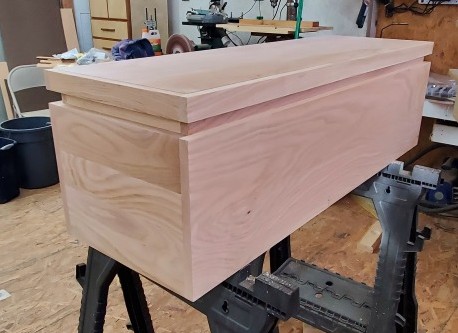
Now with the lid complete, I turned my attention to the case. I added some blocking for the lid stays, then began lining the inside with aeromatic cedar. After the cedar, I cut the mortises for the hinges, installed the lid stays, and did some final tweaking and adjusting.


We are in the home stretch! There are four major steps left:
- Building the feet
- Final cleanup and sanding (this takes a while)
- Applying the finish
- Packing and shipping!
By the end of next weekend, I will likely be ready for finish! That puts a projected ship date of 14-16 October.