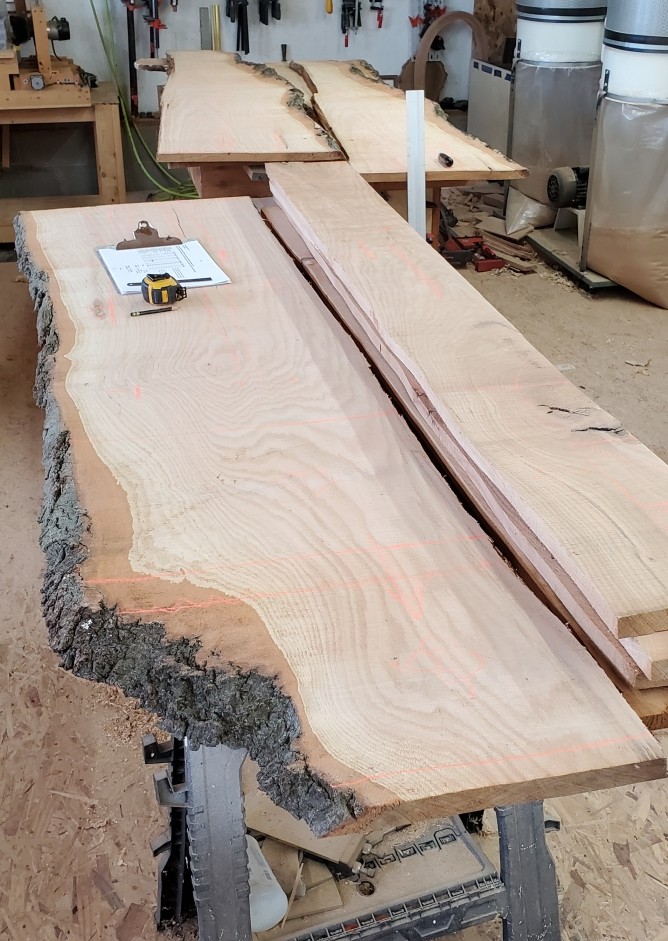
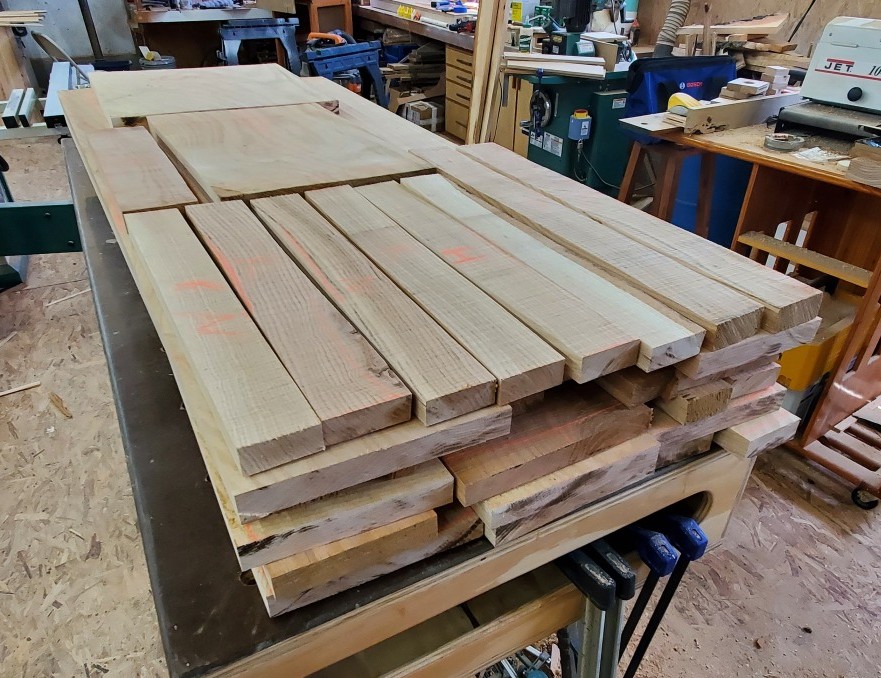
Projects typically start with the rough breakdown of material and layout of various parts from the rough lumber. Here I can select the best grain patterns possible and plan for various parts that will “show” and those that will be hidden. Defects can then be planned around and include appropriately to balance maximizing the rough material usage with minimal waste while keeping with the desired grian pattern quality.
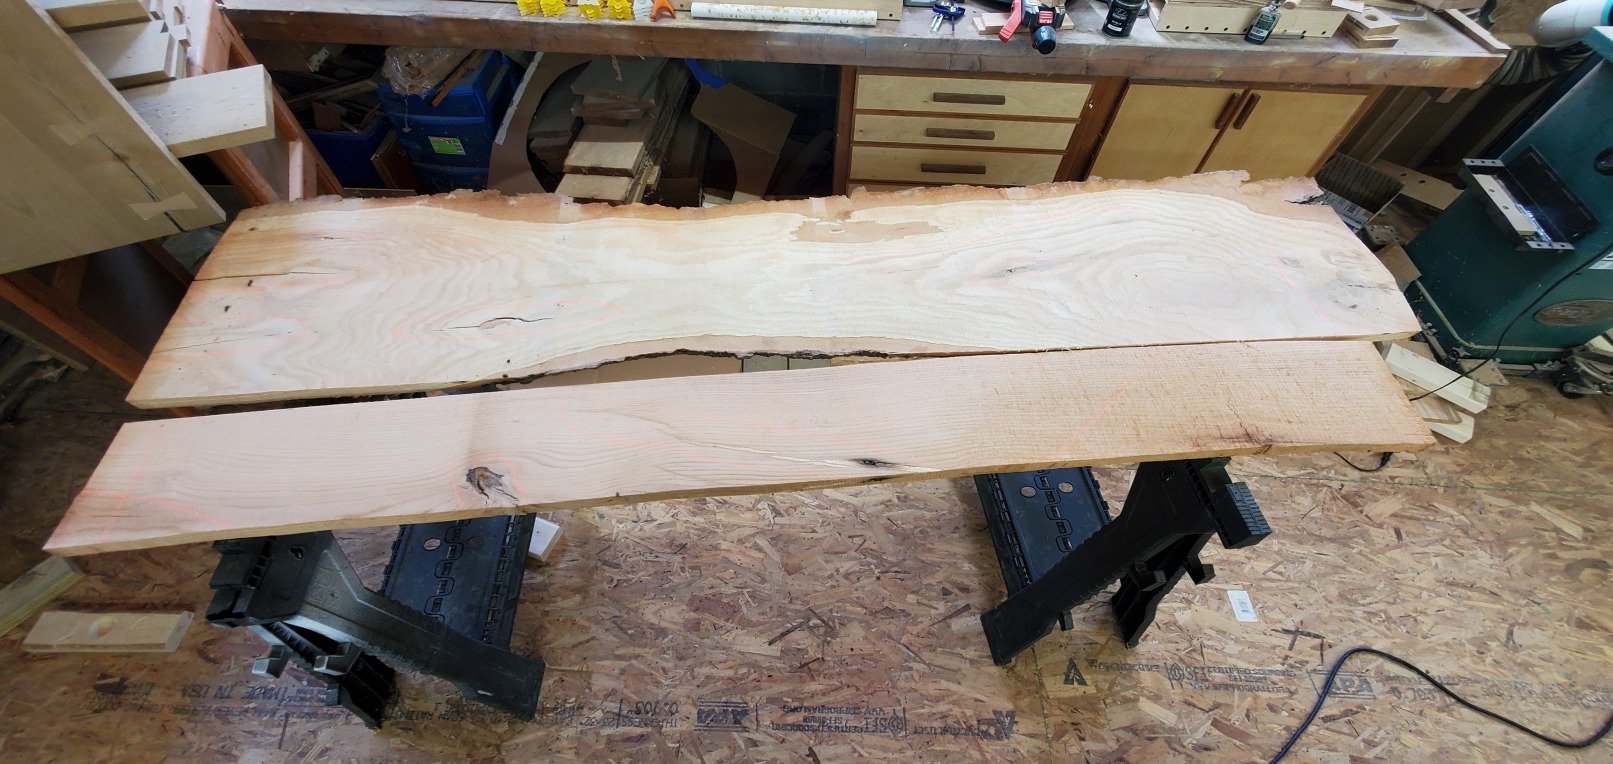
Once the material is broken down to rough dimension, I let the parts acclimate to the environment. Here we typically see internal stresses released as the newly exposed edges release or absorb moisture to reach a new equilibrium. This helps to prevent the parts from warping or otherwise moving later down the build process.
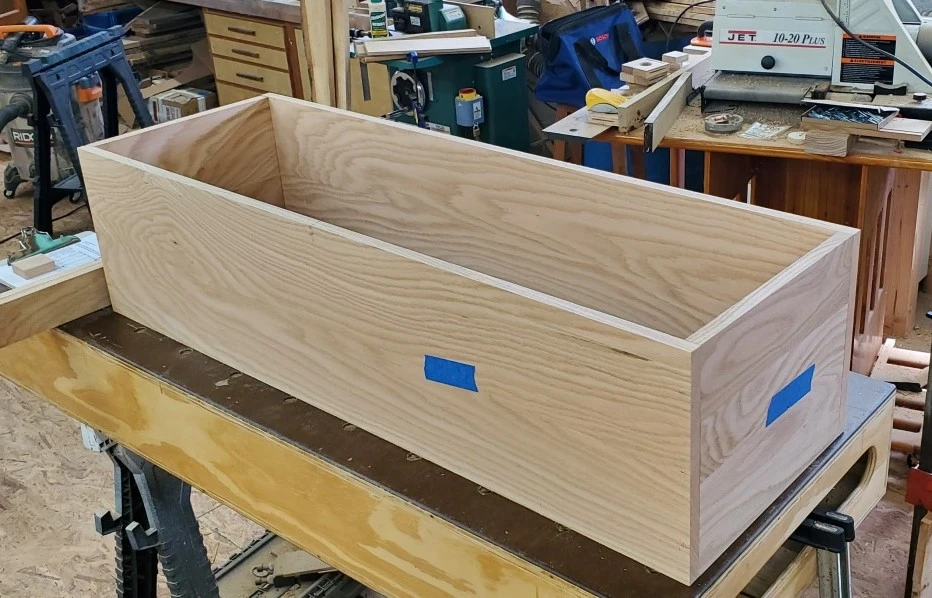
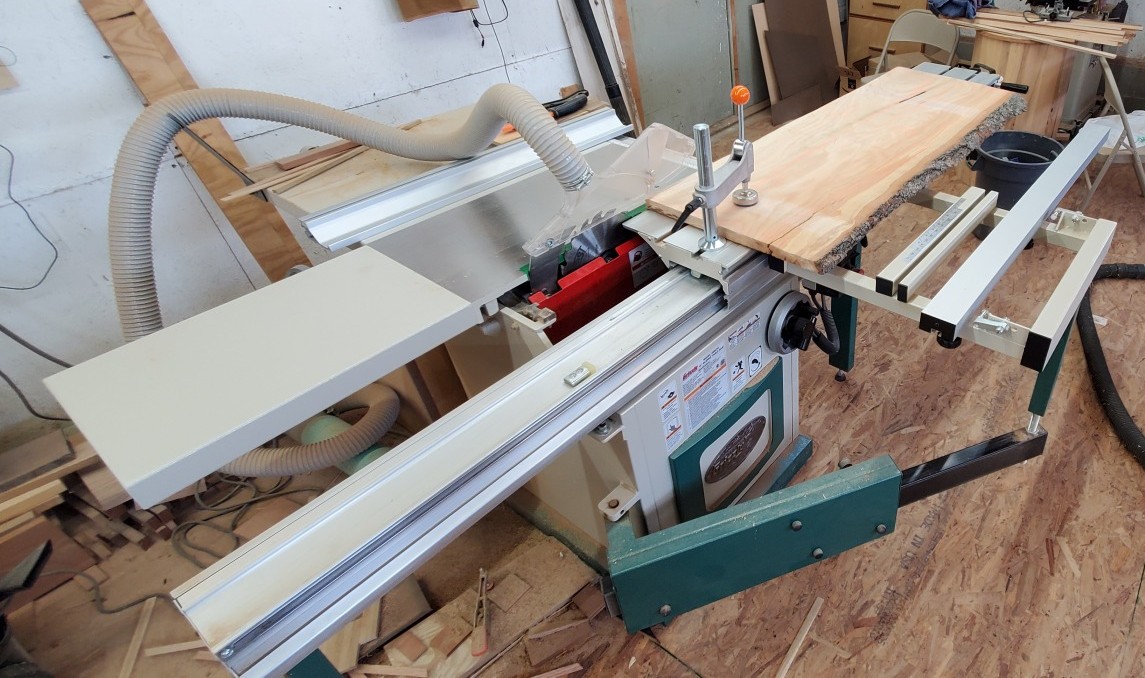
After about a week of acclimation, I can begin rough milling bringing the parts close to final dimension. First up: The case side panels. To make the case sides, two boards need to be glued together to make a wide panel, then after the glue dries, I can finish milling the panels to final dimension.

For this case, I am using a floating tenon construction to join the pieces. I use a mortising machine to cut the mortises, then mill scrap stock to size to make the internal tenons. Then the internal parts of the case can be sanded and the case can be glued up.


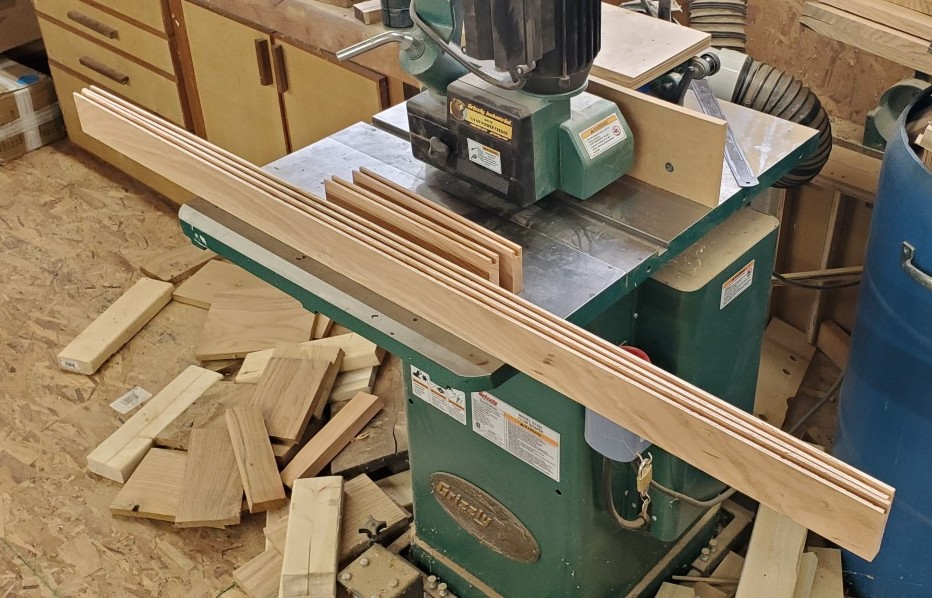
The next step is to begin work on the bottom panel. To allow for proper wood movement preventing future cracks and joint failures, I use frame-and-panel for components such as this.
First, I can rough mill the components. Then, I make the grooves for the panel to sit in. Finally, I can cut a tongue on the panel and glue together the full panel making sure to leave the center panel floating. Note the tiny gaps on either side of the panel. As the seasons change (or this chest gets shipped to you in a different climate), this panel will expand and contract slightly and you will see this gap grow and shink.
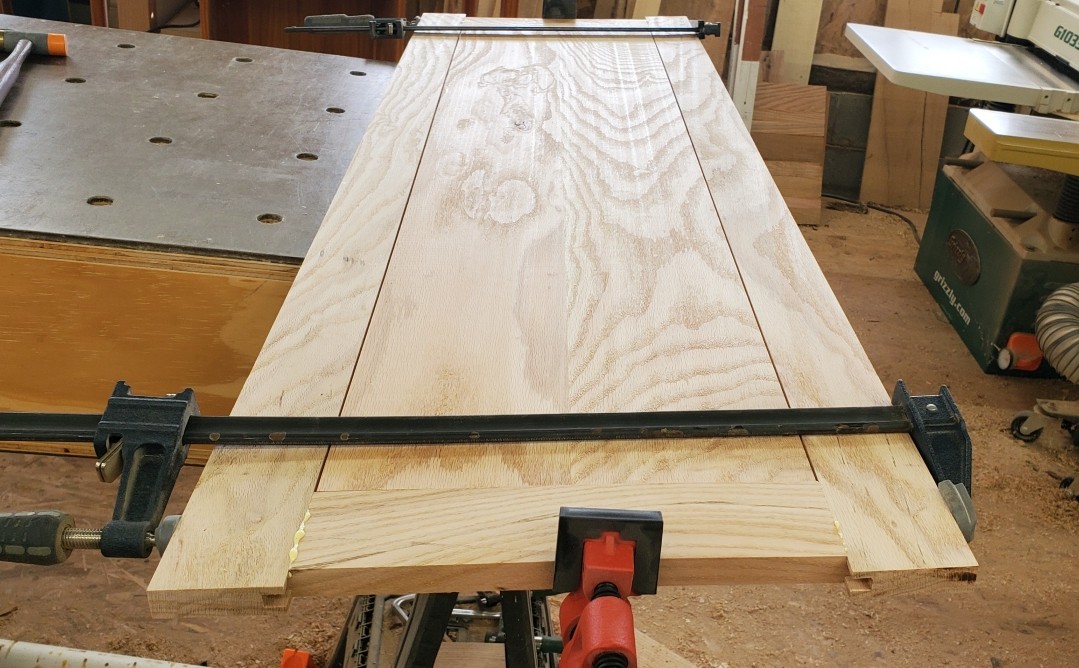
Finally, this panel was sized, sanded, and glued into the bottom of a groove cut into the bottom of the case and the case can be sanded to clean up any imperfections.
Up next, we begin finishing the inside of the case and moving on to the lid!